English
Thin-Wall Titanium CNC Machining ±0.01mm Tolerance
Writer:admin Time:2025-05-30 01:03 Browse:views
Achieving ±0.01 mm tolerance on thin-wall titanium components is one of the most demanding tasks in CNC machining. Titanium alloys such as Ti-6Al-4V (Grade 5) combine desirable mechanical properties with machining challenges like low thermal conductivity, work hardening, and elastic springback, which become acute when walls are thin. Only careful planning, optimized parameters, suitable tooling, advanced machines, smart fixturing, and rigorous inspection can consistently deliver ±0.01 mm tolerance without distortion.
This article dives into all key aspects — material behavior, machining strategies, real data tables, precision control methods, quality assurance, and common pitfalls — to give engineers, manufacturing leaders, and purchasing teams a real-world understanding of what goes into high-precision titanium CNC machining.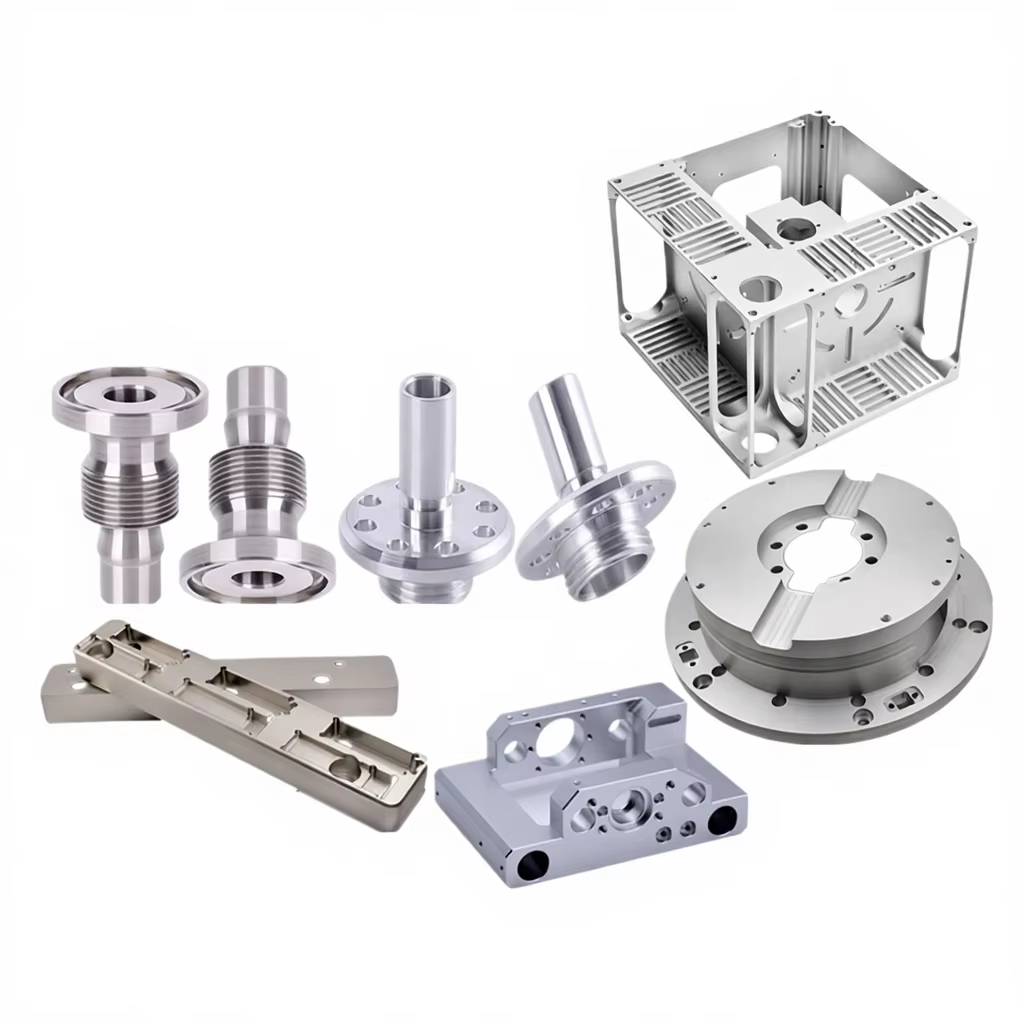
1. Why ±0.01 mm Tolerance Is Challenging in Titanium
Titanium’s inherent physical and mechanical traits make precision CNC machining harder compared to common materials:
Low thermal conductivity traps heat at the cutting interface, increasing heat-induced distortion and tool wear. (Zenithin)
Work hardening tendency means surface material becomes harder as it deforms, making finishing cuts more difficult.
Moderate elastic modulus (~110 GPa) enables springback, especially in thin features. (ruixing-mfg.com)
Tool-material adhesion and chemical reactivity accelerate built-up edge and degraded surface finish. (Zenithin)
Achieving ±0.01 mm requires controlling all these factors simultaneously.
2. Precision Machining Tolerance Levels in Titanium CNC
Tolerance requirements vary by industry and application. Typical achievable tolerances include general commercial ranges and ultra-precision levels:
Table 1: Titanium CNC Machining Tolerance Benchmarks
| Tolerance Category | Typical Value | Typical Use Cases |
|---|---|---|
| Standard CNC tolerance | ±0.05–±0.1 mm | General industrial parts |
| Precision tolerance | ±0.02–±0.05 mm | Aerospace structural parts |
| High-Precision CNC (target) | ±0.01 mm | Thin-wall or mating features |
| Ultra-precision CNC | ±0.005 mm | Critical medical/aerospace surfaces |
To reliably hold ±0.01 mm across thin walls requires advanced machine calibration, temperature control, and skillful process execution beyond common shop floor practice. (okdor)
3. Material Considerations and Titanium Alloy Behavior
Most ±0.01 mm precision titanium parts use Ti-6Al-4V (TC4 or Grade 5) due to its balance of mechanical performance and machinability relative to other alloys.
Table 2: Ti-6Al-4V Mechanical Properties (Typical Values)
| Property | Typical Value | Notes |
|---|---|---|
| Tensile Strength | ~830–990 MPa | Cold-worked/annealed range |
| Ultimate Tensile Strength | ~900–1100 MPa | Heat-treated possible |
| Elastic Modulus | ~110 GPa | Lower than steel → flex and springback |
| Hardness (HRC) | ~34–41 | Varies with heat treatment |
Compared to aluminum and steels, titanium’s low thermal dissipation increases heat concentration at the cutting edge, making micron-level precision harder to maintain without advanced thermal management. (Zenithin)
4. CNC Machine Requirements for ±0.01 mm Precision
Achieving ±0.01 mm across thin walls requires optimizing the CNC platform itself:
High-rigidity machine frame to minimize vibration and deflection
Thermal compensation systems (to control thermal drift)
High-precision spindle and encoders
Multi-axis (3+2 or 5-axis) capability for single setup precision
High-pressure coolant (≥70 bar) or through-tool delivery
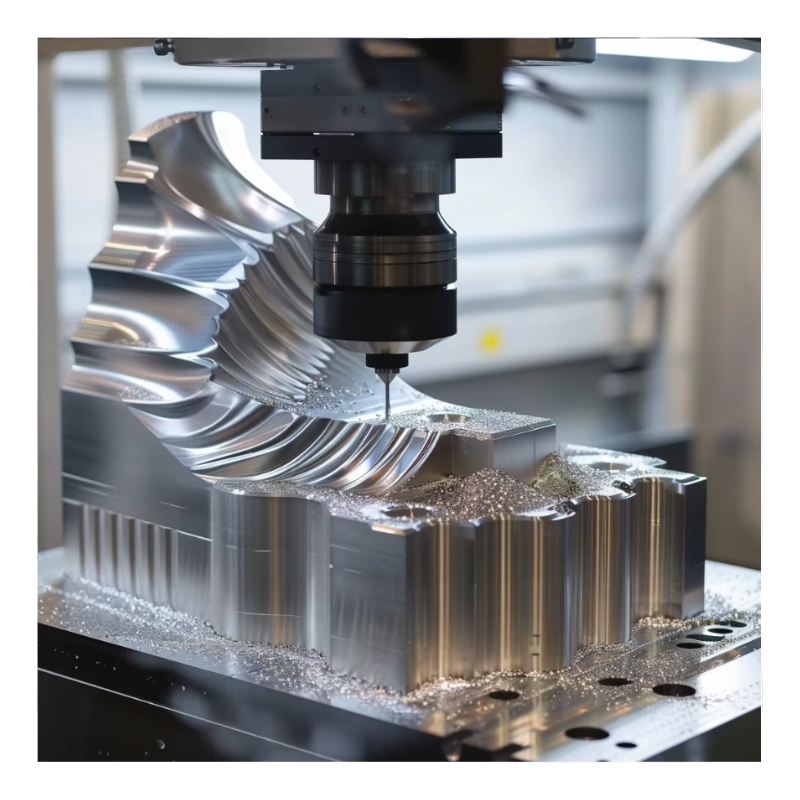
A factory capable of true ±0.01 mm titanium work often features ultra-stable machining centers with advanced control cycles and integrated probing.
5. Cutting Parameters and Strategies for Precision
Understanding and applying correct cutting parameters is a core pillar of precision. Titanium machining generally uses lower speeds and controlled chip thickness to manage heat and tool wear.
Table 3: Recommended Machining Parameters for Thin-Wall Titanium at High Precision
| Operation | Cutting Speed (m/min) | Feed per Tooth (mm) | Axial Depth (mm) | Notes |
|---|---|---|---|---|
| Roughing | 20–30 | 0.15–0.25 | 1.0–2.0 | Breathing room for tool load |
| Semi-finishing | 30–50 | 0.08–0.15 | 0.5–1.0 | Maintain chip flow |
| Finishing | 50–80 | 0.05–0.10 | 0.2–0.6 | Precision surface focus |
Principles to follow:
Keep moderate feed to avoid rubbing and work hardening
Use shallow depth of cut and low radial engagement for finishing
Minimize heat input during precision passes
6. Tooling Selection and Geometry
Tool choice influences not only dimensional control but also surface quality and tool life.
Table 4: Tooling Options for High-Precision Titanium Milling
| Tool Type | Best Use | Advantages | Considerations |
|---|---|---|---|
| Coated Carbide | General machining | Good thermal resistance | Baseline precision |
| High Helix End Mills | Thin walls | Improved chip evacuation | Slightly higher cost |
| Ball/Radius End Mills | Finishing | Better surface finish | Requires careful paths |
| Ceramic/PCD Tools | Advanced finishing | High wear resistance | High cost but long life |
Selecting tools with AlTiN or TiSiN coatings helps resist high temperatures and adhesion, which are major contributors to tool wear and tolerance drift.
7. Workholding and Fixture Design for Precision
Thin walls are easily distorted by inadequate fixturing. Precision workholding must:
Reduce part movement under cutting forces
Avoid over-clamping that induces stress
Permit temperature stabilization
Allow consistent part orientation
Common solutions include custom soft jaws, vacuum fixtures, expansion mandrels, and support pads with carefully controlled clamping forces to minimize deflection.
8. Thin-Wall Stability and Distortion Control
Thin walls in titanium suffer from:
Elastic deflection under cutting forces
Vibration and chatter
Thermal expansion and springback
To address these, manufacturers often use:
Adaptive toolpaths that balance cutting load
Trochoidal milling to reduce sudden force changes
Symmetrical machining sequences to limit imbalance
Real-time vibration monitoring systems
For thin walls thinner than 2 mm, particular setup and simulation (FEA) are often employed to predict distortion and tailor machining paths accordingly.
9. Inspection and Metrology for ±0.01 mm Guarantee
Holding ±0.01 mm isn’t meaningful without rigorous inspection. Typical inspection strategies include:
Coordinate Measuring Machine (CMM) verification for key dimensions
Laser scanning for full surface profile
In-process probing to correct drift mid-cycle
Surface profilometry to ensure Ra requirements
Inspection plans are tied to critical characteristic control plans (CCCP) often used in aerospace and medical parts production.
10. Surface Finish and Secondary Operations
Precision parts require controlled surface quality as well as dimensional accuracy. Typical surface finish requirements for precision titanium parts include:
Table 5: Surface Finish Quality Levels for Thin-Wall Titanium
| Surface Category | Roughness (Ra) | Typical Requirement |
|---|---|---|
| Standard | ≤1.6 µm | Machined parts |
| Fine | ≤1.0 µm | Mating surfaces |
| High Precision | ≤0.6 µm | Critical thin-wall finishes |
| Ultra Finish | ≤0.4 µm | Medical or aerospace features |
Finishing operations may include micro-milling, polishing, bead blasting, or anodizing depending on application demands.
11. Cost Drivers for ±0.01 mm Precision Titanium Machining
Tight tolerance dramatically impacts cost:
More setup and programming time
Longer machine cycle (slower cuts, smaller passes)
Advanced fixturing and probing
Higher inspection effort and metrology time
More careful temperature control
Cost can easily double (or more) compared to similar parts at ±0.02–±0.05 mm tolerance. (okdor)
12. Real-World Applications & Case Examples
Aerospace Thin-Wall Bracket
Achieved ±0.01 mm tolerance with careful adaptive milling, leaving stock for finishing, and using 5-axis CNC with real-time probing.
Medical Implant
A small implant requiring ±0.005–±0.01 mm tolerance had to incorporate multiple inspection loops and surface polishing to achieve both dimensional control and biocompatible finish.
13. Best Design Practices for Precision Tolerance
Designers should consider:
Avoid overly thin walls <1.5 mm where possible
Add design ribs or support features to improve rigidity
Increase fillet radii to reduce stress concentrations
Keep critical features accessible in a single setup
Specify tolerances only where function demands — over-specifying raises cost dramatically (okdor)
14. Quality Standards and Compliance
Many precision titanium parts are manufactured to standards like:
ISO 9001 / AS9100 (aerospace)
ISO 13485 (medical devices)
ITAR where applicable
Documentation and traceability are part of maintaining ±0.01 mm assurance.
15. China Machining Landscape for Precision Titanium
China has become a major hub for precision CNC machining with facilities capable of ±0.01 mm tolerance, often at competitive pricing due to process expertise and high-volume machine shops. Many suppliers offer full project support from design optimization through delivery, making outsourcing an appealing option.
For detailed case studies and tailored approaches to challenging tolerances like ±0.01 mm in titanium CNC machining, sourcing engineers and designers often consult manufacturing insights at https://www.eadetech.com, which provides practical guidance and engineering solutions from experienced CNC production environments.
Conclusion
Achieving ±0.01 mm tolerance on thin-wall titanium parts is a high-precision art that blends machine capability, tooling, workholding, thermal management, cutting strategy, and quality assurance. It requires strong process discipline, careful planning, and advanced technology.
By understanding the material behavior, machining challenges, and how to control them with proper parameters and inspection, manufacturers can reliably produce titanium components that meet the most demanding tolerances required by aerospace, medical, and high-performance industrial applications.
Precision, predictability, and proof of capability — supported by real-world data and best practices — are key to successfully machining titanium at this level. For practical examples, tooling insights, and expert guidance on titanium CNC machining at micro tolerances, explore https://www.eadetech.com and learn from industry case studies and engineering resources.
CATEGORIES
LATEST NEWS
CONTACT US
Whatsapp: +8618998453346
Phone: +8618998453346
Tel: +8618998453346
Email: [email protected]
Addr: Room 302, Building D, COFCO Gonghua Project, Zone 20, Honglang Community, Xin'an Street, Bao'an District, Shenzhen City.
